The Blog
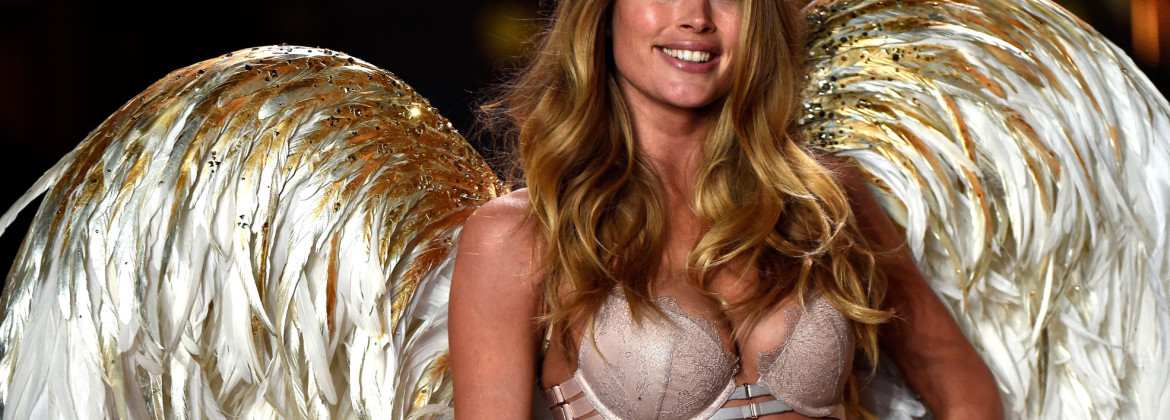
It’s time to glam up your angel wings with cool metallic effects! In this tutorial you’ll learn how to get that epic Victoria’s Secret fashion show look for your next cosplay or photoshoot.
 You’ll need your standard materials to make feathery wings:
- Metallic Spray Paint
- Rooster Feathers (any non-fluffy feathers will work)
- 9 Gauge Steel Wire
- Wire Cutters
- Gloves
- Chicken Wire
- Felt
- Duct Tape
- Elastic (optional)
- Shiny Fabric (optional)
- Rhinestones/Flowers/etc (optional)
It’s important to use feathers that aren’t fluffy, because the spray paint would cause them to be matted and messy looking. Rooster feathers can be very long so they’re great for making wings. Turkey feathers would also work but they’re usually much shorter so they don’t look as good, however they’re usually cheaper. Your felt and shiny fabric should match the color of your feathers.
The first step is to sketch out how you want your wing frame to look like. Keep in mind that it will end up much larger once you add the feathers, depending on how long they are.
 When working with wire, if it’s galvanized steel then you’ll need to wear gloves as it can make you sick with enough exposure. Mine was plastic coated so it was fine to touch, however it’s important to check. Get your wire and shape it according to your sketch. It’s best if you use only one long piece instead of two separate pieces for each wing. Make sure to leave the ends slightly longer so they overlap; this is so you can duct tape them together.
It’s very important to add some support to your wings as well as a place to attach your straps to. The square window shaped thing I added to the frame makes it so the frame is well supported and now the wings won’t flop around when I’m wearing them. The four small squares are important if you’re attaching straps, so you can loop the elastic through later. Make sure to use lots of duct tape!
*If you want to attach your wings without straps, instead make two long bars sticking downwards from the frame. They can then be inserted into a corset or some other sturdy garment for support.
Next, cut out a piece of chicken wire slightly larger than your wing frame. Then wrap the edge pieces around your frame so it’s really secure.
 Cut out two pieces of felt slightly larger than your frame, then use hot glue to attach them around both sides of of the wing frame.
Before you add any feathers, you should make your straps if you want to use them. Cut a long rectangle of the shiny fabric and sew it together to make a long tube, while leaving the ends open so you can thread your elastic through. To attach, poke holes through the felt in each of the four small squares and loop the straps through, and sew the ends of the elastic together for each of the two straps. Hot glue the ends of the fabric down onto the felt.
Now it’s time to spray paint your feathers. It’s key to first hold the feather down against a flat surface, otherwise the force of the spray will cause the bristles to get all messed up. Depending on where you plan on placing the metallic feathers, you may need to paint both sides. Make sure the feathers aren’t touching each other as they dry because they might stick.
It’s feather time! Depending on the quality of your feathers, you may need to trim the tips a bit to cut off the bad parts. Use hot glue to attach your feathers starting from the top and working downwards. I had mine going in different directions so the wings had a more natural look, with the metallic ones laid on top. You can also try the inverse of mine, or even have all of the feathers metallic. It’s up to you!
On the backside where your straps are, you may want to have some sort of padding or fabric to protect your costume from the scratchy feathers and paint. I just glued on an extra piece of felt.
If you’re feeling creative, you can add some rhinestones, glitter, or even flowers! LEDs could look really cool too. I wanted to keep mine relatively simple, so I just glued on a few stones here and there.
Now go out and show off your awesome flashy wings!


Share On